Every Christmas I like to make gifts for my family. Frankly, it is too hard to shop for people and so I use the opportunity to test out a new woodworking project and build something from scratch. Plus, if I don’t count my time, I can make a gift that looks a lot more impressive than what I could buy with the money than the wood costs. Past years have included coasters and crosses, but this year I decided to pick up a few cheese slicer kits from Rockler and make some charcuterie boards with built in cheese slicers.
Initially the measurements needed to properly install the cheese slicer can seem a bit daunting. I knew that I wanted to make a medium size board with two different types of wood, but my strategy to be successful was to first build a simpler board to perfect the placements of the hole and groove needed for installation.
The first board was just a piece of walnut that was 7 inches x 5 inches. This was a good way to start out and get the basic requirements of the slicer dialed in.
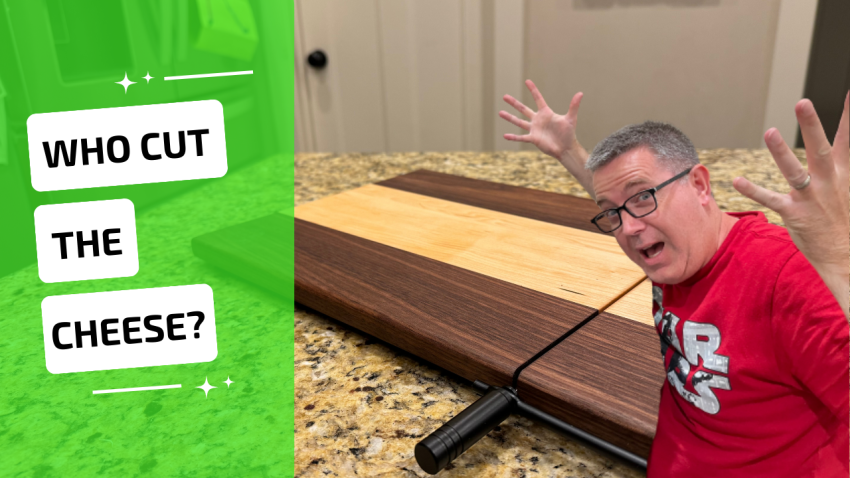
The small walnut board turned out beautiful, but more importantly it helped me figure out exactly where to place the grove and drill the hole for inserting the slicer handle. With those two items sorted out I was able to tackle a larger board that came out to be 15 inches by 10 inches. I knew with this board I wanted to make it a combination of maple and walnut. The easy route would have been to once again, cut the groove all the way through, but the slicer only really needs 5.75 inches of a groove. As always, I like to give myself a bit of a challenge, so I decided to make the groove only through 6 inches of the width of the board. I’m sure you have plenty of ideas on how you would do that yourself, so watch the video below, and then I would love to hear in the video comments how you would have handled the groove.
In the end, both boards turned out great, and became excellent Christmas gifts for this past holiday season. With Christmas 2023 in the books, I now need to start thinking about what I am going to make for 2024. Happy Making!
Make sure to follow me on YouTube, Facebook, Instagram, and Twitter to keep up with all my latest projects!